WP Error Fix - The Link You Followed Has Expired
This WordPress error is common and mostly it comes when we try to upload a theme or plugins. WordPress gives this error because by default our server have fixed limit for max file upload , post size etc and because of this reason , when we try to upload a large size file PHP generates error like this.
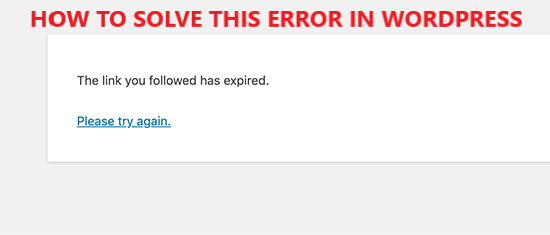
How to solve this error WP Error Fix - The Link You Followed Has Expired
To solve this issue, we need to increase php size limit and we have several ways to do this
1. fix 'The Link You Followed Has Expired' wp error using .htaccess file
This is the best and easy solution to fix this error and increase memory limit, post size, upload size etc.
First go to your root directory of your project and check if you have .htaccess file exist or not, if its exist then edit it and add below code at the end of the file or if you do not have a .htaccess file in root directory then create a new one and edit and paste below code in it.
php_value post_max_size 128M
php_value upload_max_filesize 128M
php_value max_input_time 300
php_value max_execution_time 300
Now save the file and try to upload theme now. Great now it will work :)
2. Solve 'The Link You Followed Has Expired' wp error using functions.php file
We can solve this error by theme's function.php file. Unzip your theme file and edit functions.php and add below code in it
@ini_set( 'post_max_size', '120M');
@ini_set( 'upload_max_size' , '120M' );
@ini_set( 'max_execution_time', '300' );
Now save , zip it again and upload it on your wordpress admin panel. Now it will upload and install.
3. Increase memory limit, post size through php.ini
If you have server access and can edit php.ini file then open it and search for below values one by one and increase values and save php.ini.
upload_max_filesize = 128M
post_max_size = 128M
max_execution_time = 300
If you have shared hosting then you do not have access of php.ini so check in cpanel , if your server provider company providing you option to edit php.ini file or if not then create a php.ini in your root directory and your server will read it automatically.
Thanks for reading.
Related Links
WP Error Fix - The Link You Followed Has Expired
How to solve The Link You Followed Has Expired error in wordpress
Wordpress increase memory limit
WP How to solve theme upload error
An amazing web journal I visit this blog, it's unbelievably wonderful.
ReplyDelete7 Reasons Why You Should Use React Native For Mobile Applications?
Xamarin vs React Native: How To Choose Best Framework For Cross-Platform App Development
Flutter vs React Native – Which to Choose In 2022
List of New React Hooks Introduced in React 18