Android studio kotlin/java change status bar background color
Hello Today we learn how to change status bar background color in android studio.
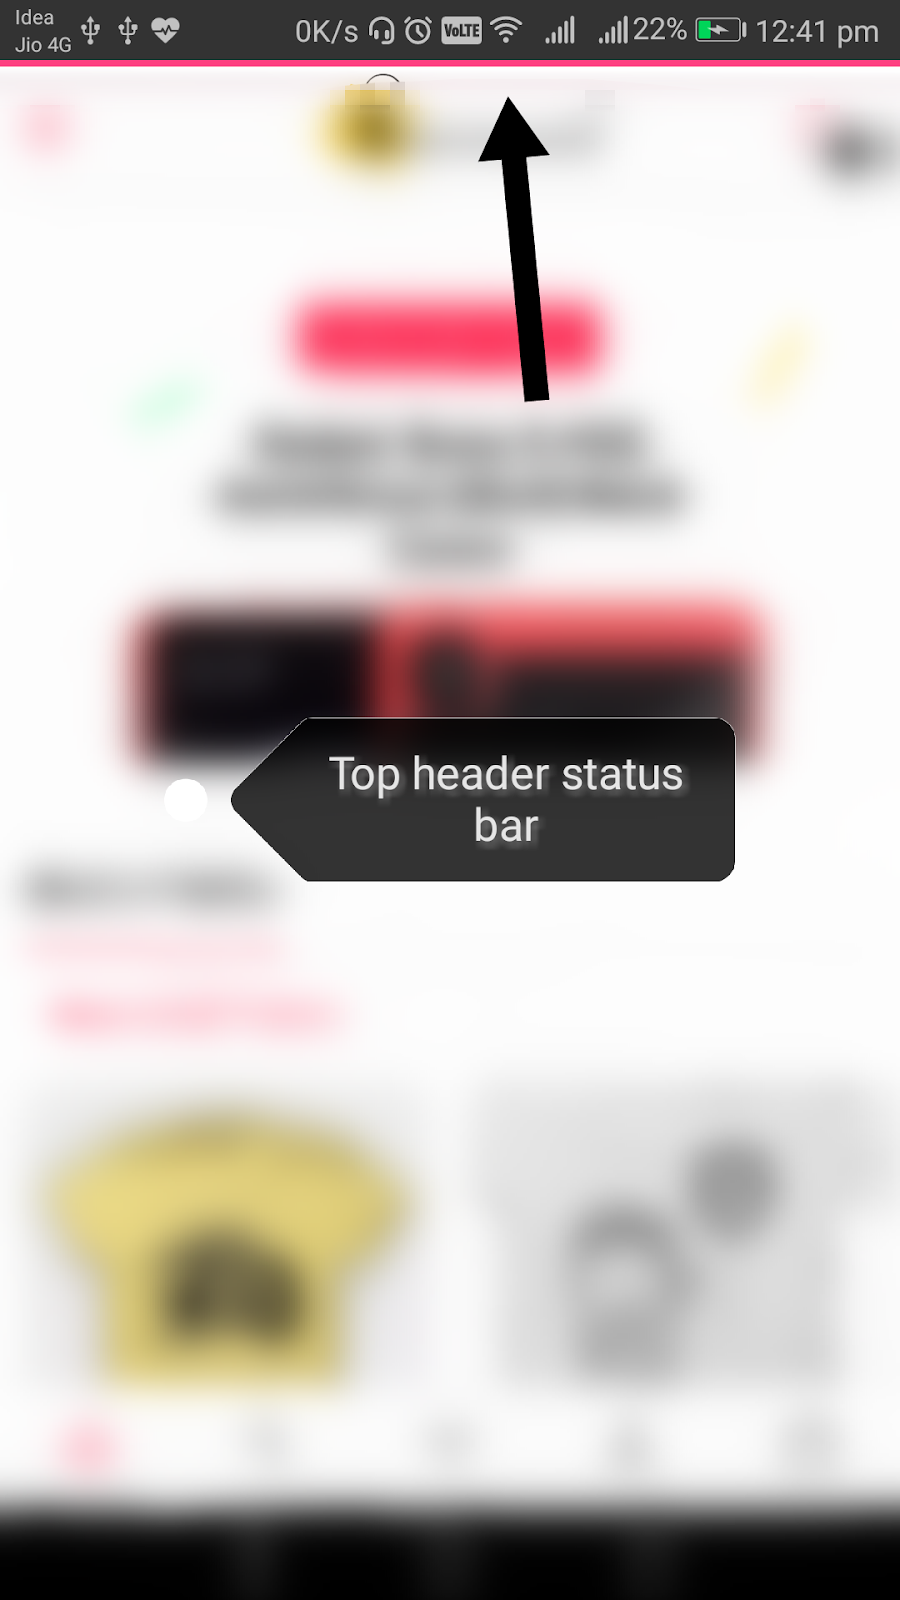
What is status bar ?
In android phones , status bar contains notifications and system icons. As you can see in above image that area is status bar.
Here we will change background color through xml so it will be work with both java and kotlin. You can change status bar color by many ways but here we are using very simple way to do this. So please follow below steps:-
Please open your project folder and navigate to app/src/main/res/values/styles.xml or just search styles.xml file and then add below line in it
<item name="android:statusBarColor">#333</item>
Here we are using dark color code #333 but you can use any color code according to you and it will be good if you use color according to your app theme.
So after adding this code your code will be look like this
<resources> <!-- Base application theme. --> <style name="AppTheme" parent="Theme.AppCompat.Light.NoActionBar"> <!-- Customize your theme here. --> <item name="android:statusBarColor"> #333</item> <item name="colorPrimary">@color/ colorPrimary</item> <item name="colorPrimaryDark">@ color/colorPrimaryDark</item> <item name="colorAccent">@color/ colorAccent</item> </style> </resources>

After the above process, please click on build and check it will work. Thanks for reading :)
Really a fantastic Job. so happy to read the Blog. Thanks for sharing and Keep up the work. also check out!
ReplyDeleteMobile App Development Company In Bangalore | Mobile App Development Companies In Bangalore | Android App Development Company Bangalore | IOS App Development Company Bangalore
In this fashion my buddy Wesley Virgin's report launches with this shocking and controversial VIDEO.
ReplyDeleteAs a matter of fact, Wesley was in the army-and soon after leaving-he discovered hidden, "mind control" tactics that the CIA and others used to get anything they want.
THESE are the same SECRETS tons of famous people (notably those who "became famous out of nothing") and elite business people used to become wealthy and famous.
You probably know that you use only 10% of your brain.
Really, that's because the majority of your brain's power is UNCONSCIOUS.
Maybe that thought has even occurred INSIDE your own head... as it did in my good friend Wesley Virgin's head about seven years ago, while driving a non-registered, beat-up garbage bucket of a vehicle with a suspended license and $3 on his banking card.
"I'm very frustrated with going through life paycheck to paycheck! When will I finally make it?"
You've been a part of those those types of thoughts, ain't it right?
Your success story is going to start. All you have to do is in YOURSELF.
Take Action Now!
This is very helpful information about mobile app development. If you are looking some different information about android app development Please follow this link:Android app development
ReplyDeleteNice post. The information which you provided is valuable & meaningful. Thanks for sharing this blog.
ReplyDeleteCustom Android App Development Company New York
This comment has been removed by a blog administrator.
ReplyDelete